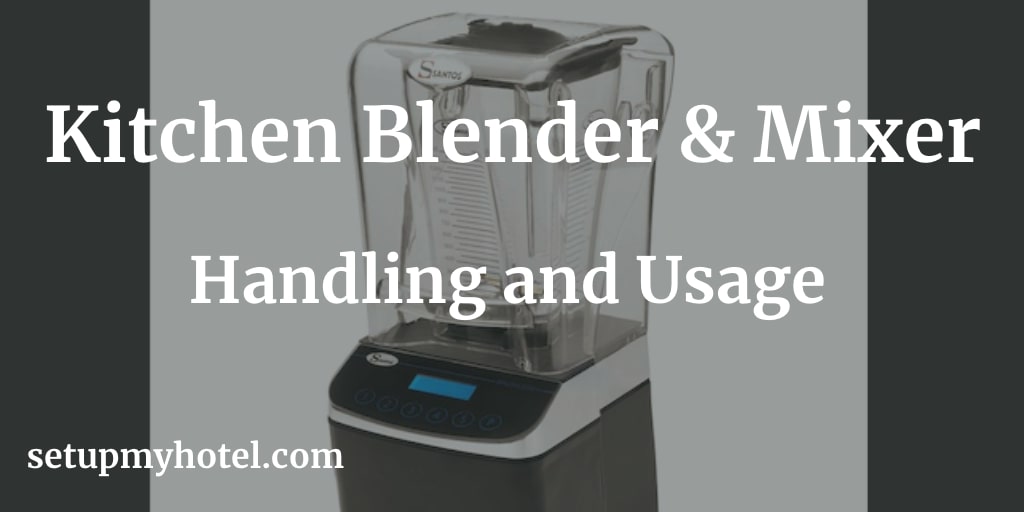
Kitchen SOP for Using and Handling Blender
To ensure the hygienic operation of the blender while producing consistent results, always pay strict adherence to the guidelines of safety practices. The staff should make sure to safely and hygienically operate the Industrial Blender to achieve consistent results.
The Executive Chef and the Sous Chef should be responsible for ensuring that appropriate equipment operating and maintenance methods are followed by the kitchen staff. The hotel training and HRD department should develop and implement proper written Kitchen SOP’s to ensure the same is implemented correctly throughout all the food preparation outlets.
Handling Kitchen Blender Standard Procedures:
Note: This SOP is for reference or example only, always follow the instructions provided by the manufacturer for your and others’ safety, and also to avoid any injury while operating this equipment.
How to use the Blender with the Jug, Cups, or Mugs?
- Place ingredients into the small cup, large cup, or party mug and screw on the cross blade or flat blade until they are sealed tightly.
- If using the blender jug, screw on the blade assembly to the bottom of the jug before adding your ingredients, and then ensure that the lid is securely in place.
- Connect the base to a suitable 220 -240V ~ 50Hz power outlet socket.
- Place the jug/cup/mug on top of the base ensuring the 3 tabs of the jug/cup/mug are aligned with the three slots on the top inner edge of the base.
- To turn it on, press down and gently turn the jug/cup/mug anti-clockwise until the tabs lock under the lip of the base.
- Once locked in, the blender will run continuously.
- To turn it off, simply twist the jug/cup/mug back clockwise.
- Wait until the blades have completely stopped before removing the jug/cup/mug from the base.
- Remember to unplug the unit from the power outlet when it is not in use or is left unattended.
- Unscrew the blade assembly from the cup/mug to pour out the contents.
- If using the jug, empty its contents before removing the blade assembly.
- Alternatively, if you have prepared a beverage, you may screw on one of the coloured comfort rings and drink directly from the cup/mug.
- This product comes with two storage lids to cover the cup/mug and store any leftovers.
- It also has two shaker tops to dispense ground-up, dry contents from the cup/mug.
How to use the Juice Extractor in the Blender?
- Screw the cross blade onto the bottom of the blender jug.
- Insert the extractor filter down the center of the blender jug making sure to line the four slots in the extractor filter up with the four ribs on the inside of the blender jug.
- Place the lid onto the blender jug aligning either the straining pourer or regular pourer up to the spout.
- Make sure the lid is locked on as it holds the extractor filter in place, then take out the removable clear plastic top from the lid of the blender jug.
- Place the assembled blender jug on top of the base ensuring the 3 tabs of the jug are aligned with the three slots on the top inner edge of the base.
- Turn on by pressing down and gently turning the jug anti-clockwise until the tabs lock under the lip of the base. Once locked in, the unit will run continuously.
- Make sure your juicing ingredients are sized to fit into the extractor filter and place the ingredients down the center of the extractor.
- Push the ingredients down into the blade with the pusher.
- To avoid jamming the blades, which can cause serious motor damage, make sure the unit is running before adding any ingredients to the juice extractor.
- The juice will accumulate in the jug on the outside of the extractor filter and the pulp will collect on the inside of the extractor filter.
- Pour the juice into a glass with the extractor filter & jug still assembled.
- Remember to not allow the motor to run continuously for more than 30 seconds.
- After 30 seconds stop and have a short break to allow the appliance to cool.
- When the filter is full of pulp, stop the unit, pour out any juice in the jug, disassemble the filter from the jug, and clean away the pulp.
- If required, reassemble and continue juicing.
Generic practice for using the Industrial Blender in the Kitchen.
- Turn off the power supply.
- Ensure all parts are present & in the correct position.
- Load blender.
- Tighten all guards.
- Turn on the power supply.
- Use the correct speed for the blades.
- Before removing any parts, turn off the power supply to the machine first.
- Open the blender and pour out the contents.
- Dismantle blender and wash.
- Replace all clean parts of the machine in the correct position and leave power the off.
Training Summary questions:
Q1. What is the purpose of this SOP?
Q2. How to effectively work with Kitchen Blender?
Q3. Explain the process of using the blender with a Jug, Cup, or mug.
Q4. How to avoid jamming the blade while using the kitchen blender?
Q5. Why it is important to not run the blender motor for more than 30 Seconds?
Patreon Only SOP Download

SOP Number: Kitchen / F&B Production SOP – 25
Department: Kitchen / Food Production - Blender
Date Issued: 8-Dec-2018
Time to Train: 20 Minutes