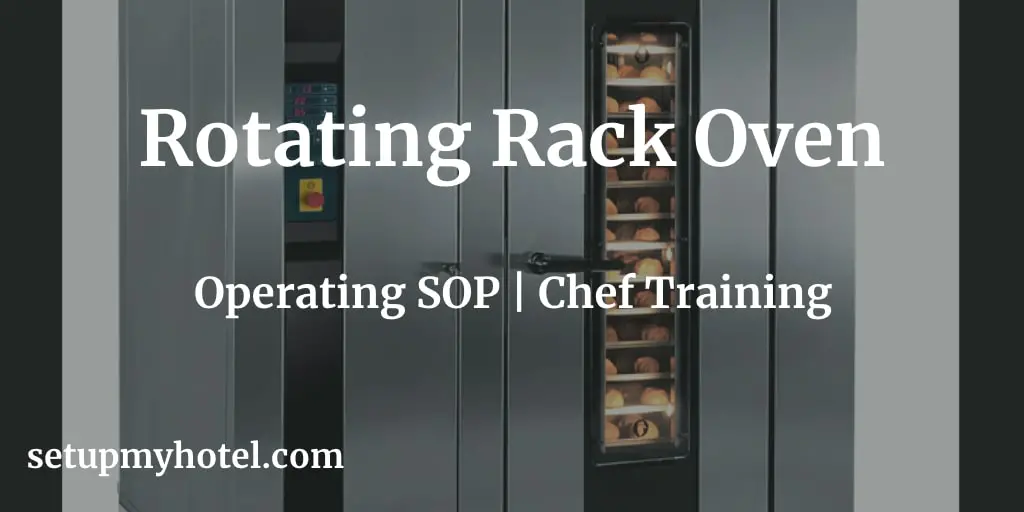
How To Operate The Rotating Rack Oven
To ensure the hygienic operation of the Rotating rack oven while producing consistent results, always pay strict adherence to the guidelines of safety practices. The staff should make sure to safely and hygienically operate the rotating rack oven to achieve consistent results.
The Executive Chef and the Sous Chef should be responsible for ensuring that appropriate equipment operating and maintenance methods are followed by the kitchen staff. The hotel training and HRD department should develop and implement proper written Kitchen SOP’s to ensure the same is implemented correctly throughout all the food preparation outlets.
Operating Rotating Rack Oven Standard Procedures:
Note: This SOP is for reference or example only, always follow the instructions provided by the manufacturer for your and others’ safety, and also to avoid any injury while operating this equipment.
- The oven and its parts are hot.
- To prevent burns, use hot pads or protective mitts when loading or unloading the oven.
- Hot air and steam are released from the oven interior when the loading door is opened.
- To avoid burns, open the door slowly and keep clear of the opening.
1. How to Manually select baking settings in the Rotating Rack Oven?
- Press the UP or DOWN arrows next to TIMER to enter the desired value.
- Press the UP or DOWN arrows next to the STEAM TIMER to enter the desired value.
- Press the UP arrow next to FAN DELAY to enter the desired value.
- The steam and airflow delay settings are optional and can be left at 0 if desired.
- Slowly open the door and load the product.
- Press the start button and close the door.
- The ON light in the timer window blinks as the timer counts down.
- The rack lifts from the floor and rotates from right to left.
- The oven beeps after the TIMER times out.
- Press STOP to silence the beeper.
- Open the oven door and wait till the rack carrier stops and lower.
- Remove the product from the oven.
2. How to set the Auto On/Off Timer and Clock in the Rotating Rack Oven?
- The Auto ON/OFF Timer display shows the current time of day.
- To set the clock, the control must be turned on.
- Press and hold either arrow button to initiate the clock setting, then adjust the time using the arrow buttons.
- A few seconds after the time is adjusted, the colon in the time display will resume flashing.
- The oven can be set to turn itself on and off. After the AUTO ON/OFF TIMER is set, the POWER ON.
- The OFF button can be pressed to turn the oven off. This will not disrupt the AUTO ON/OFF setting.
- Electrical power to the oven must remain on.
- To set the oven to turn on, press and hold the AUTO ON TIME button.
- The previously entered start time will appear on the display.
- Use the UP and DOWN arrows to adjust the start time. Then release the AUTO ON TIME button.
- To set the oven to turn off, press and hold the AUTO OFF TIME button.
- The previously entered end time will appear on the display.
- Use the UP and DOWN arrows to adjust the end time.
- Then release the AUTO ON TIME button.
- To enable the automatic start, press and hold the TIMER ON/OFF button until the indicator LED to the right of the TIMER ON/OFF button is illuminated.
3. How to Preheat the Rotating Rack Oven?
- For best results, the oven must be preheated to bake temperature before baking begins.
- The door must be closed for the oven to heat.
- The rack carrier will lift and rotate only during the timed bake.
- The rack carrier will be in the unload position from the last bake.
- If the rack carrier is moved out of the home position, the rack carrier will lift and turn to the unload position when the door is opened.
- Press the POWER ON-OFF button to turn the oven on.
- Press the UP or DOWN arrows next to the SET temp window to enter the desired baking temperature.
- The actual temperature of the oven will appear in the OVEN TEMP window.
- For optimum steaming capability, allow 30 minutes after the oven has reached the set temperature for the steam system to charge.
- The oven is now ready for baking operations.
4. Loading Procedure for the Rotating Rack Oven.
- Rack carriers are equipped with stops on both ends.
- Ensure the stop flap is in the up position to load the rack on the rack carrier.
- Push rack stop to the left after the rack is loaded.
- Roll the rack into the oven so the end brackets channel onto the rack carrier.
- When using racks equipped with pan stops, load racks so stops will prevent the movement of trays toward the user when racks are unloaded.
- PositionStatus of the number of rooms available for sale. pans so they do not extend beyond the rack.
- If the pans extend beyond the rack it may cause the rack to get jammed when rotating.
- Close the loading door.
- The rack carrier will lift and rotate only during the timed bake.
5. Unloading Procedure for the Rotating Rack Oven.
- The oven and its parts are hot. To prevent burns, use hot pads or protective mitts when loading or unloading the oven.
- Hot air and steam are released from the oven interior when the loading door is opened.
- To avoid burns, open the door slowly and keep clear of the opening.
- Press STOP and/or open the loading door to silence the beeper.
- Wait for the rack carrier to stop and lower.
- Push the rack to stop down to unload the rack from the rack carrier.
- Push the rack stop to the right to open.
- Roll the rack from the rack carrier.
- Close the loading door.
Training Summary questions:
Q1. What is the purpose of this SOP?
Q2. How to avoid injuries while working with the rotating rack oven?
Q3. Explain the process of manually selecting the baking settings.
Q4. How to pre-heat the rotating rack oven?
Q5. Why it is important to use hot pads or protective mitts when loading or unloading the oven?
Patreon Only SOP Download
SOP Number: Kitchen / F&B Production SOP – 27
Department: Kitchen / Food Production / Bakery - Rotating Rack Oven
Date Issued: 20-Dec-2018
Time to Train: 40 Minutes


